You need to install & activate LYNX Add-ons plugin, since this is a part of the plugin !
LYNX Ads feature allows you to create and manage advertisements on your website. You can choose between displaying ad codes or images to monetize your content effectively.
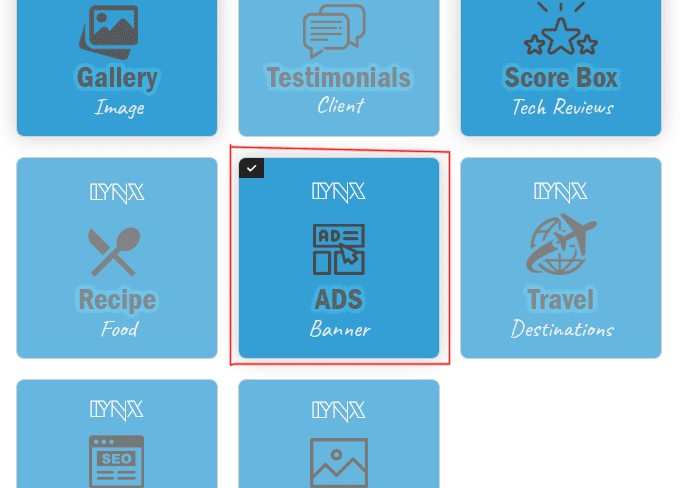
Enabling LYNX ADS
Click on the “LYNX Add-ons Options” menu in your dashboard to open the “LYNX Add-Ons Items” page.
- Check “LYNX ADS” to enable the LYNX Ads manager, save the options and refresh the page.
- You will now see the “LYNX Ads” menu appear on your dashboard menu.
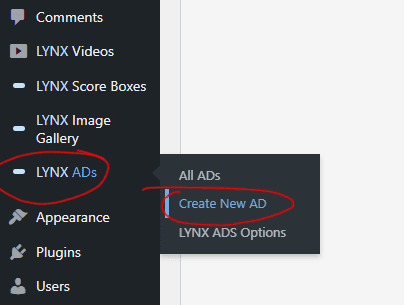
- Hover over the menu and click on the “Create New Ad” sub-menu. The “Create New Ad” page will open.
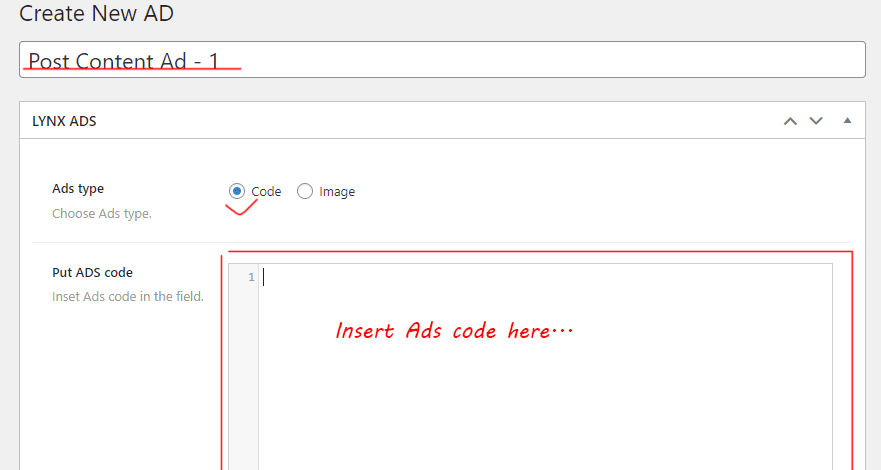
In the “Create New Ad” Page
- Add an Ad title to identify the advertisement.
- Select the Ad type: Choose between “Code” and “Image” for the type of ad you are creating.
If you Choose “Code” Ad Type:
- Enter the Ad code in the “Put ADS code” field. This could be from Google AdSense, Bing Ads, Taboola, or any other ad provider, or your own custom ad code.
If you Choose “Image” Ad Type:
- Upload an appropriate banner image for your advertisement in the “Ads Banner image” field.
- Insert the banner link where you want to send visitors after clicking on the banner in the “Banner image link” field.
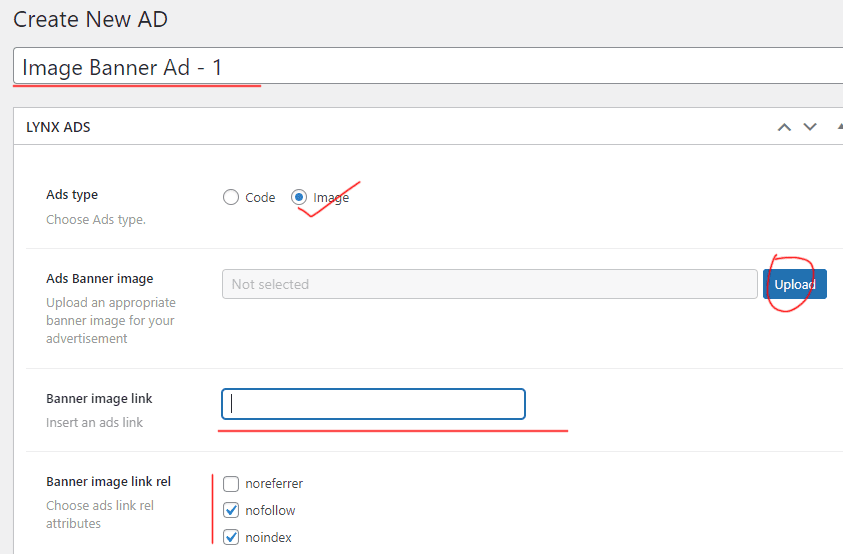
- Choose the rel attribute for the banner link as “noreferrer,” “nofollow,” or “noindex” in the “Banner image link rel” field.
Publishing the Ad
- Click on the “Publish” button in the top right corner of your page to publish the Ad post.
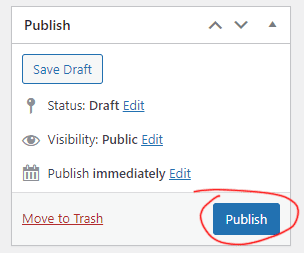
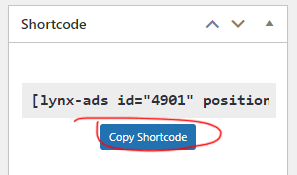
- After publishing, a “Shortcode” field will appear above the “Publish” field.
Applying Ads
Manual Ads Apply Inside Posts and Pages:
- Click on the “Copy Shortcode” button to copy the ads shortcode.
- Paste the copied shortcode where you want to add the ad in posts or pages.
PHP Ads Apply Anywhere in the Page:
- Use the following PHP code to apply your copied shortcode inside
do_shortcode(''): <?php echo do_shortcode('[lynx-ads id="4896" position="center"]');?>- “
4896” is ads id you can manually update the ads id - “
center” is the ads position, you can use here “center”, “left” and “right” to positioning ads (It will be applied if your ads is defined with certain width)
For more details to apply Ads follow this documentation here.