You need to install & activate LYNX Add-ons plugin, since this is a part of the plugin !
Custom ad injections allow you to place ads at specific locations within your website’s content. With LYNX ADS, you can define custom injection points based on HTML elements’ IDs or classes, giving you granular control over ad placement. This guide will show you how to set up and manage custom ad injections with LYNX ADS.
You need to enable “LYNX ADS” in “LYNX Add-ons” items option page, go here and read “Enabling LYNX ADS” to learn about it, if you needed.
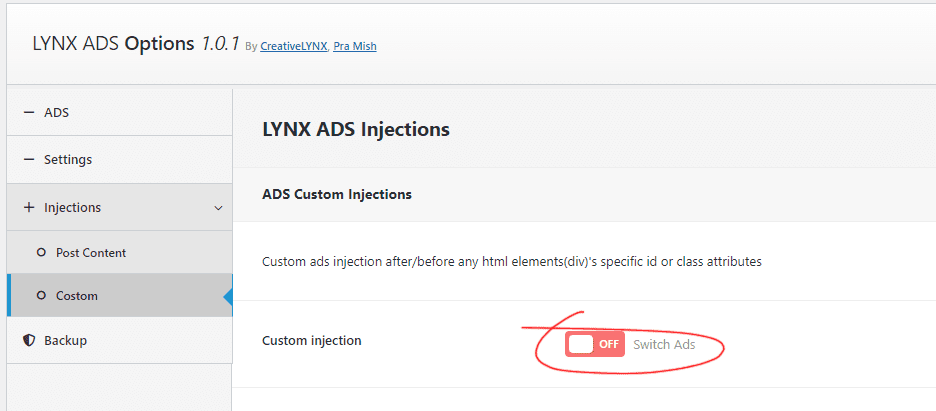
This feature allows you to inject ads after or before specific HTML elements (div) with specific ID or class attributes.

- Custom Injection: Toggle this switch to enable custom ads injection.
- Custom Ads Injection: Click on the “Add ADS” button to add custom ads to your website pages.
- Select an AD: Type the specific ads title you’ve created or create a new appropriate ad for the action and select it.
- Display ADS on: Choose one of the following options:
- Desktop & Mobile: Display the ads on both desktop and mobile devices.
- Desktop only: Display the ads on desktop devices only.
- Mobile only: Display the ads on mobile devices only.
- Ads position: Choose the position for your ads placement, such as left side, center, or right side (applicable if your ads have a certain width).
- Ads Injection Attributes: Specify the injection attributes of HTML elements (div)’s IDs or class names here. For example, if you insert “#post-header” as an attribute, the ads will be placed before or after the
<div id="post-header">element on your page. You can use multiple attributes here by separating them with commas, like#post-header, .post-content, .post-footer, #site-footer, etc. - Ads Injection position: Specify the ads placement position as before or after the defined attributes above in the field.
- Adding More Custom Injections: You can add more custom injections by clicking the “Add ADS” button again and repeating these actions.

