You need to install & activate LYNX Add-ons plugin, since this is a part of the plugin !
You need to enable “LYNX ADS” in “LYNX Add-ons” items option page, go here and read “Enabling LYNX ADS” to learn about it, if you needed.
Injecting ads into post content is a powerful way to monetize your website. With LYNX ADS, you can easily insert ads at strategic locations within your post content. In this guide, we will show you how to inject ads into post content using LYNX ADS.
Note: The LYNX Add-ons plugin is compatible with non-“V-Blogs Creative” themes as well. If you are not using the “VBC” theme, these settings are specifically built for that theme.
If you are using the “V-Blogs Creative” theme, you do not need to configure these settings. Instead, go to “Template Options -> Single Post-Page -> Blocks.” Inside the “Post Header Block,” you can add ads to the header section of the page. In the “Post Content Block,” you can add ads to your post content. Use the “Post Footer Block” and “After Post Content Block” to add ads to the footer section of your page.
This section allows you to automatically apply ads to specific sections of your posts and pages on your website. It consists of two subsections: “Post Content” and “Custom.”
This option and setting automatically inject ads into specific sections of your posts and pages. To complete this setting, follow these steps:
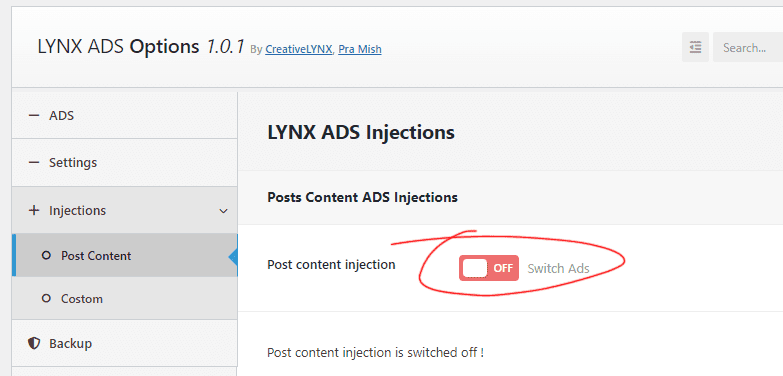
- Post Content Injection: Toggle this switch to enable it.
- Post Types: Choose and check the post types in which you want to enable these ads.
- Ads Options:
- Before Post Title Ads: Complete the settings as prompted there.
- Before Post Content Ads: Complete the settings as prompted there.
- Inside Post Content Ads: Complete the settings as prompted there.
- After Post Content Ads: Complete the settings as prompted there.
- AMP Ads Option: “LYNX Ads” supports ads for Google AMP pages. To enable AMP ADS, complete the settings as prompted there.